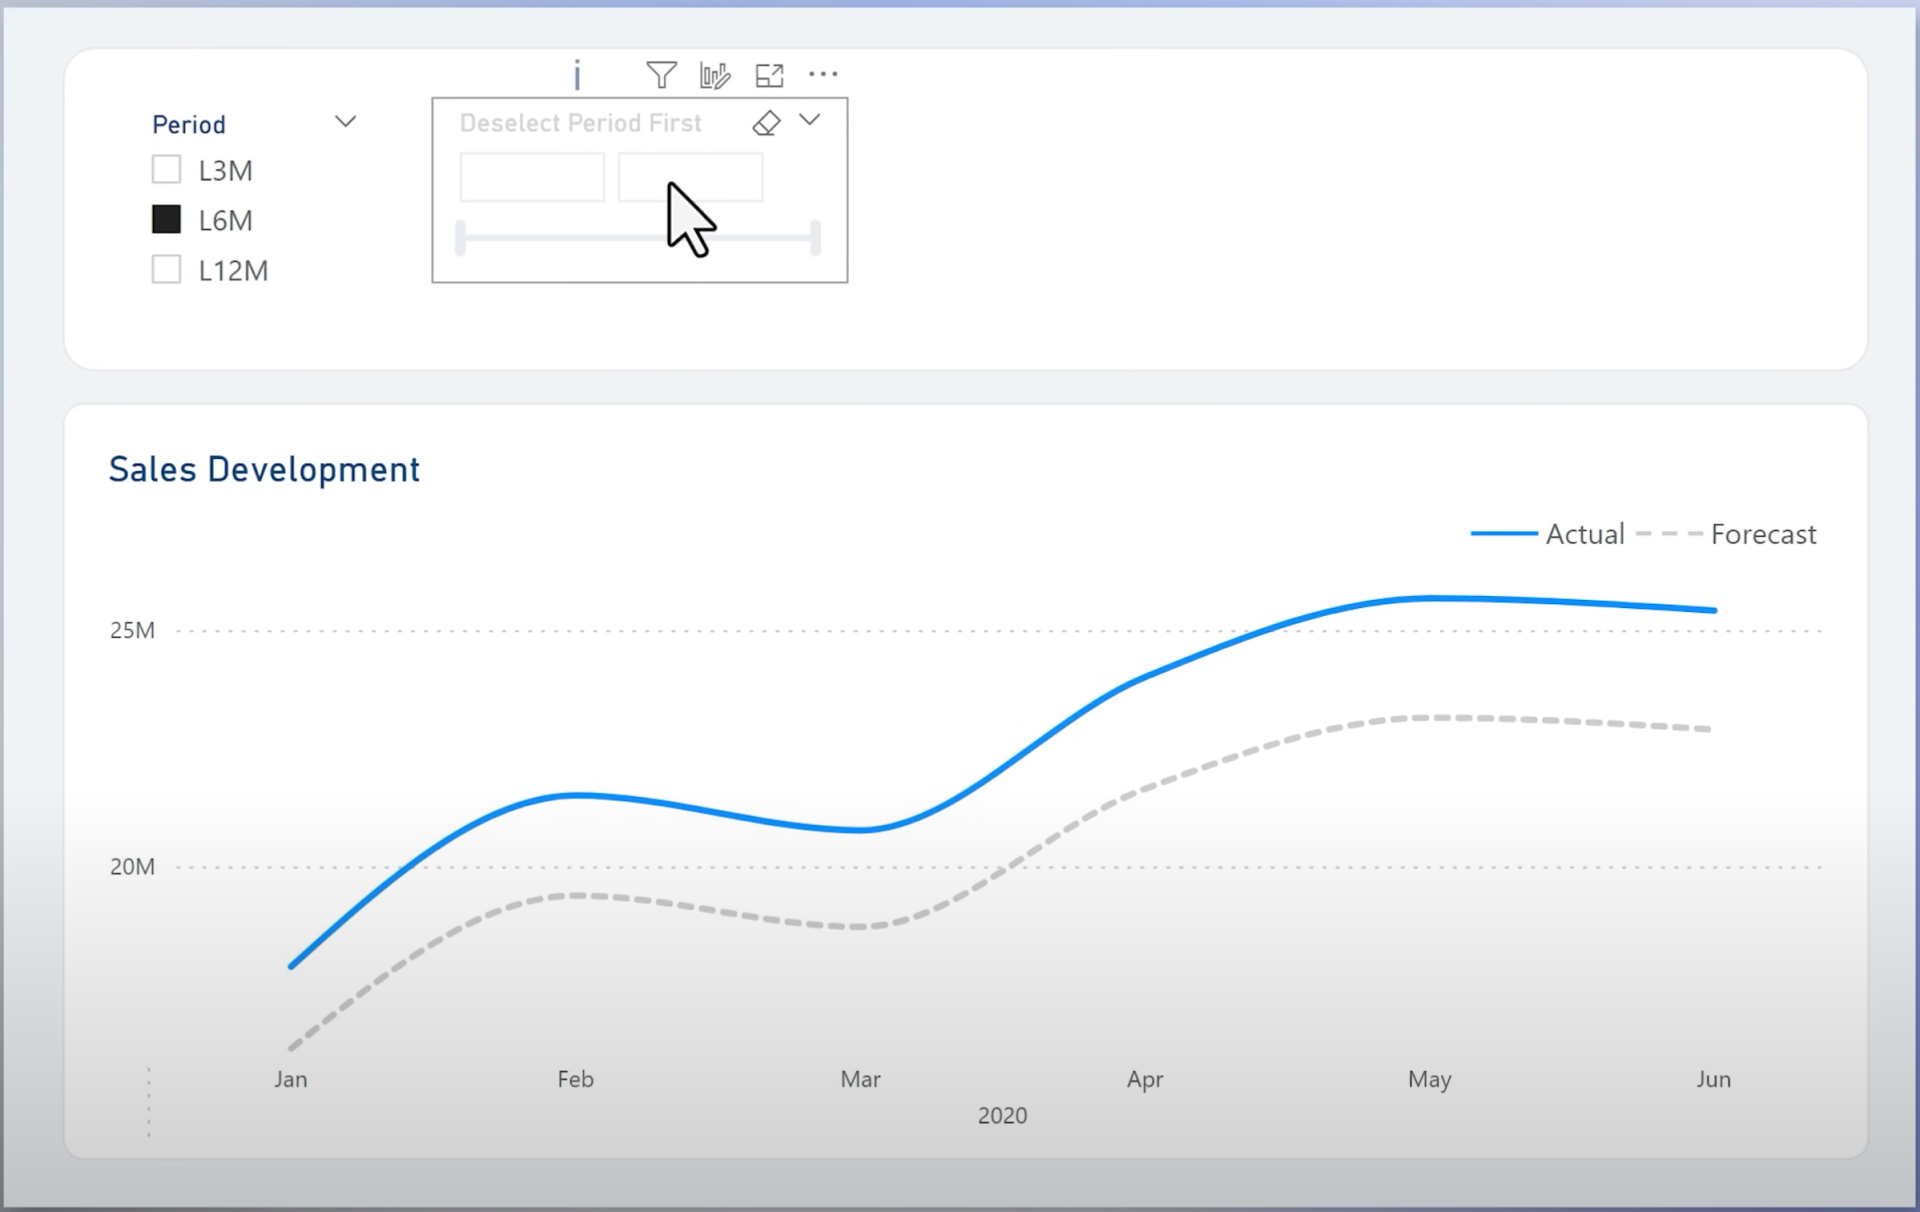
Use Case 1: Disabling a Date Range Slicer Based on Fixed Period SelectionImagine you have two slicers:
- One allows the user to select from fixed periods: Last 3, 6, or 12 months
- The other is a timeline to pick a custom date range
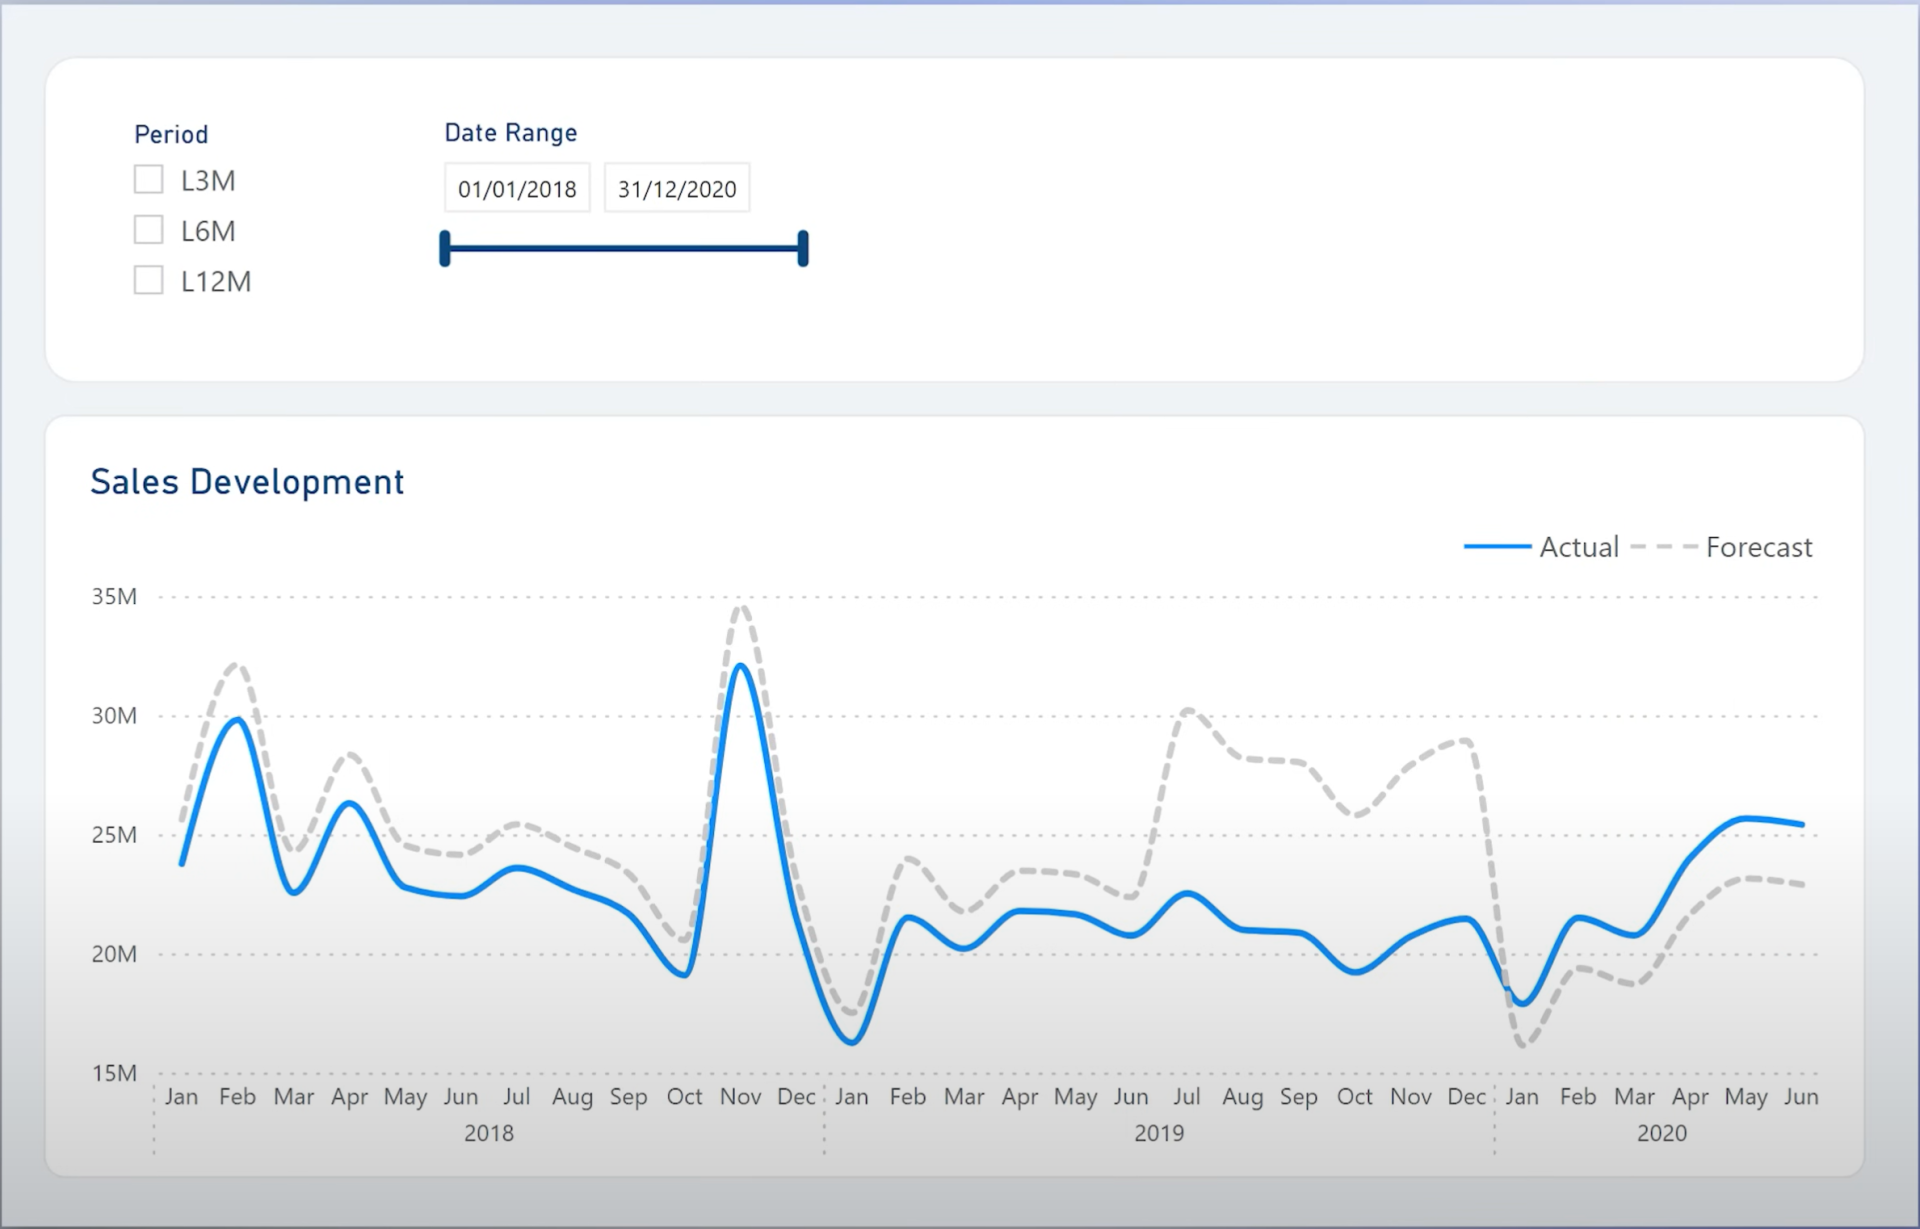
When a fixed period is selected, the timeline slicer should be disabled.
Step 1: Create a Disabling Measure
Create a new measure:
Timeline Slicer Disable =
IF(
ISFILTERED('Custom Periods'),
1,
0
)
Step 2: Apply the Measure as a Visual-Level Filter
1. Select the timeline slicer
2. In the Visual-level filters pane, drag in the new measure
3. Set the filter condition to “is equal to 0”
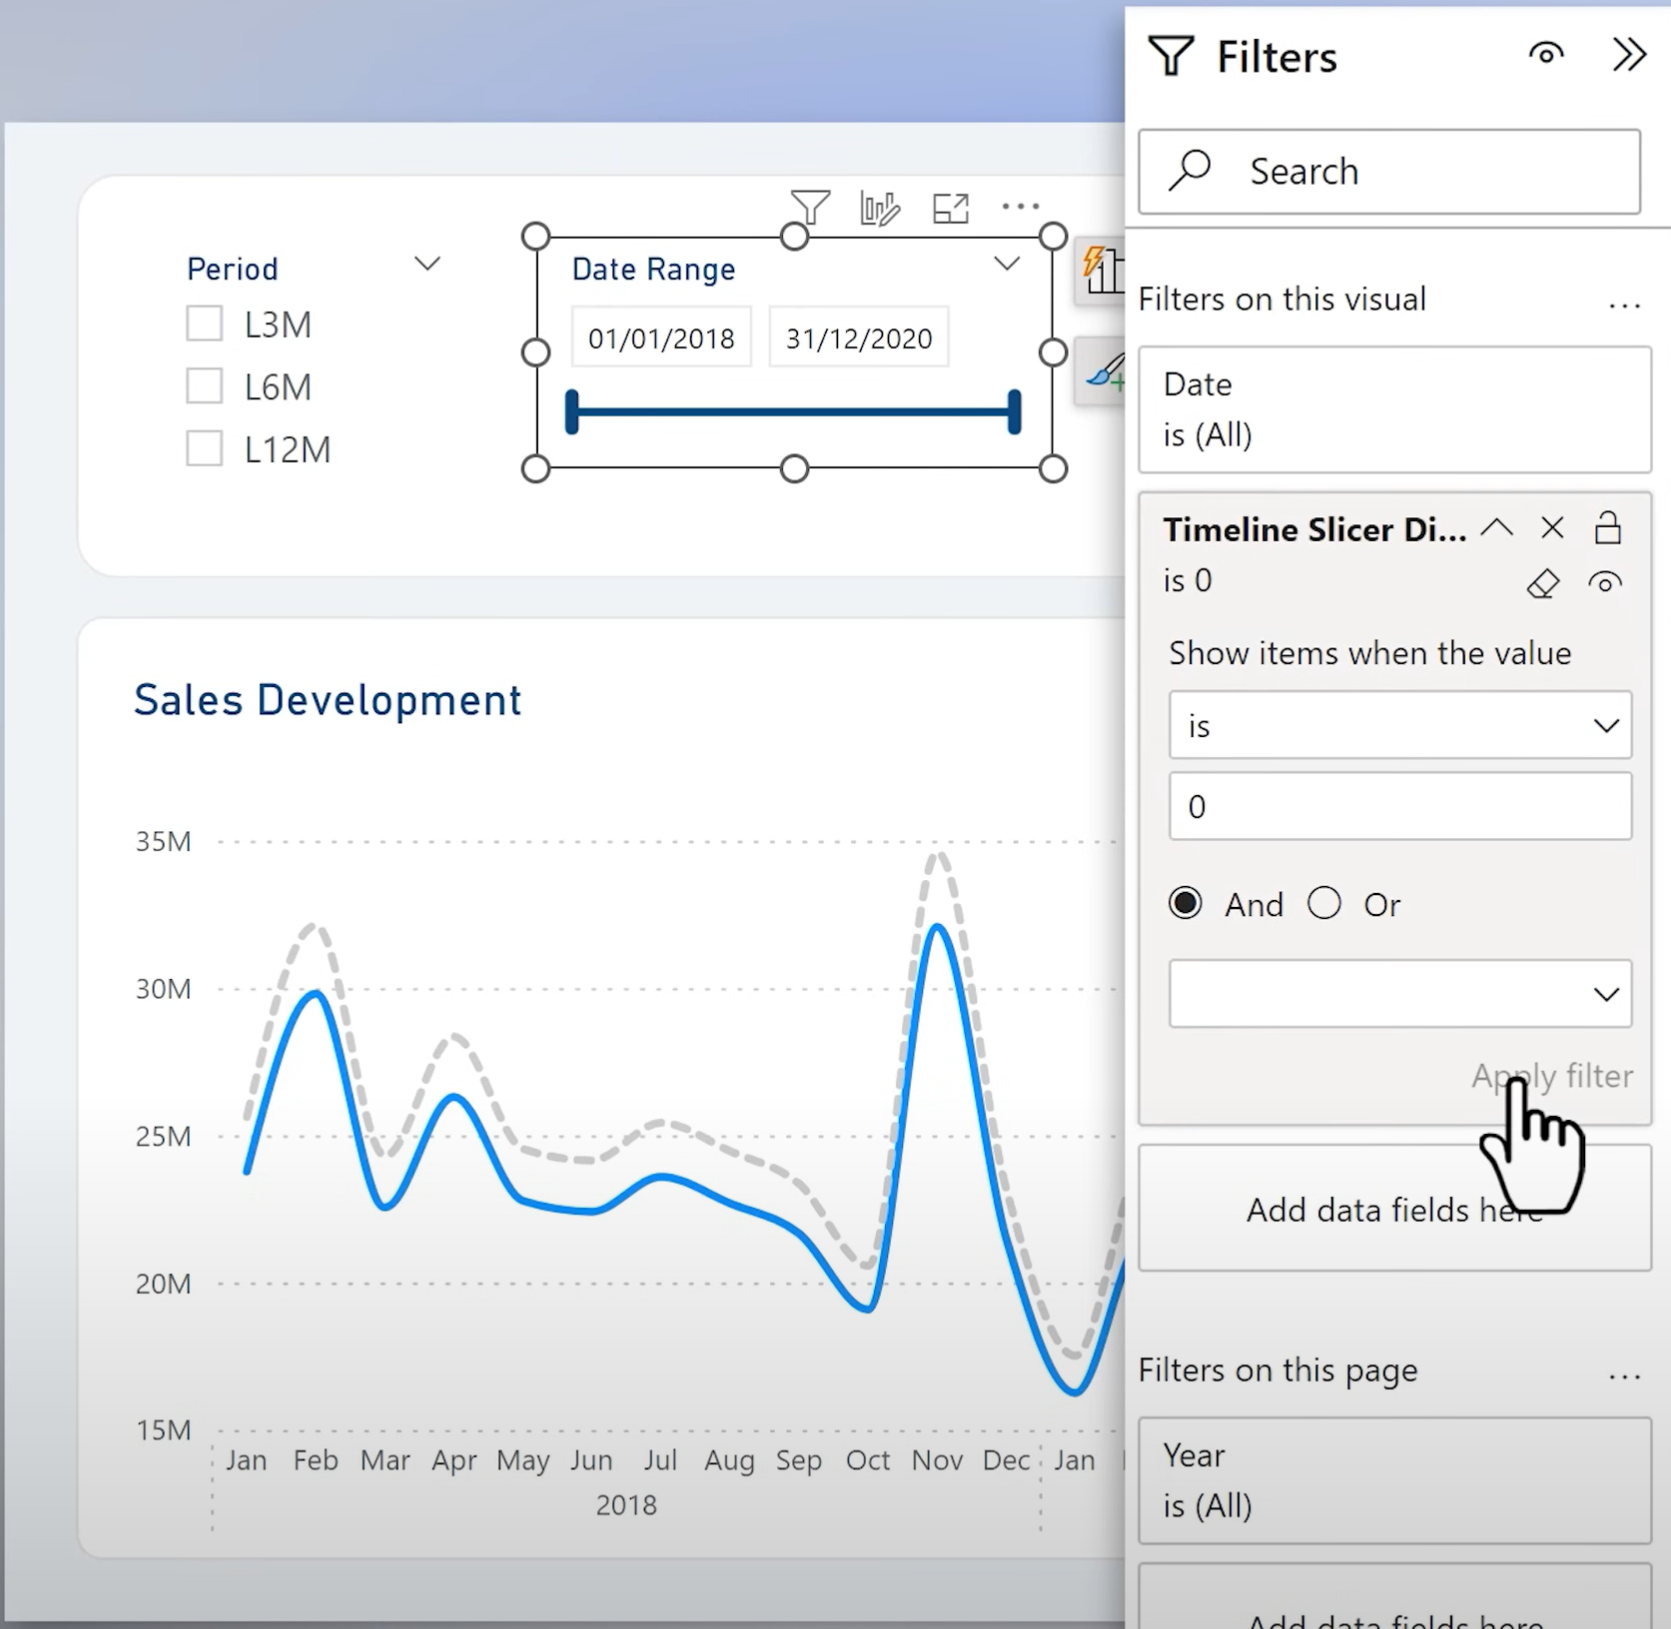
Now the timeline is only active when no fixed period is selected.
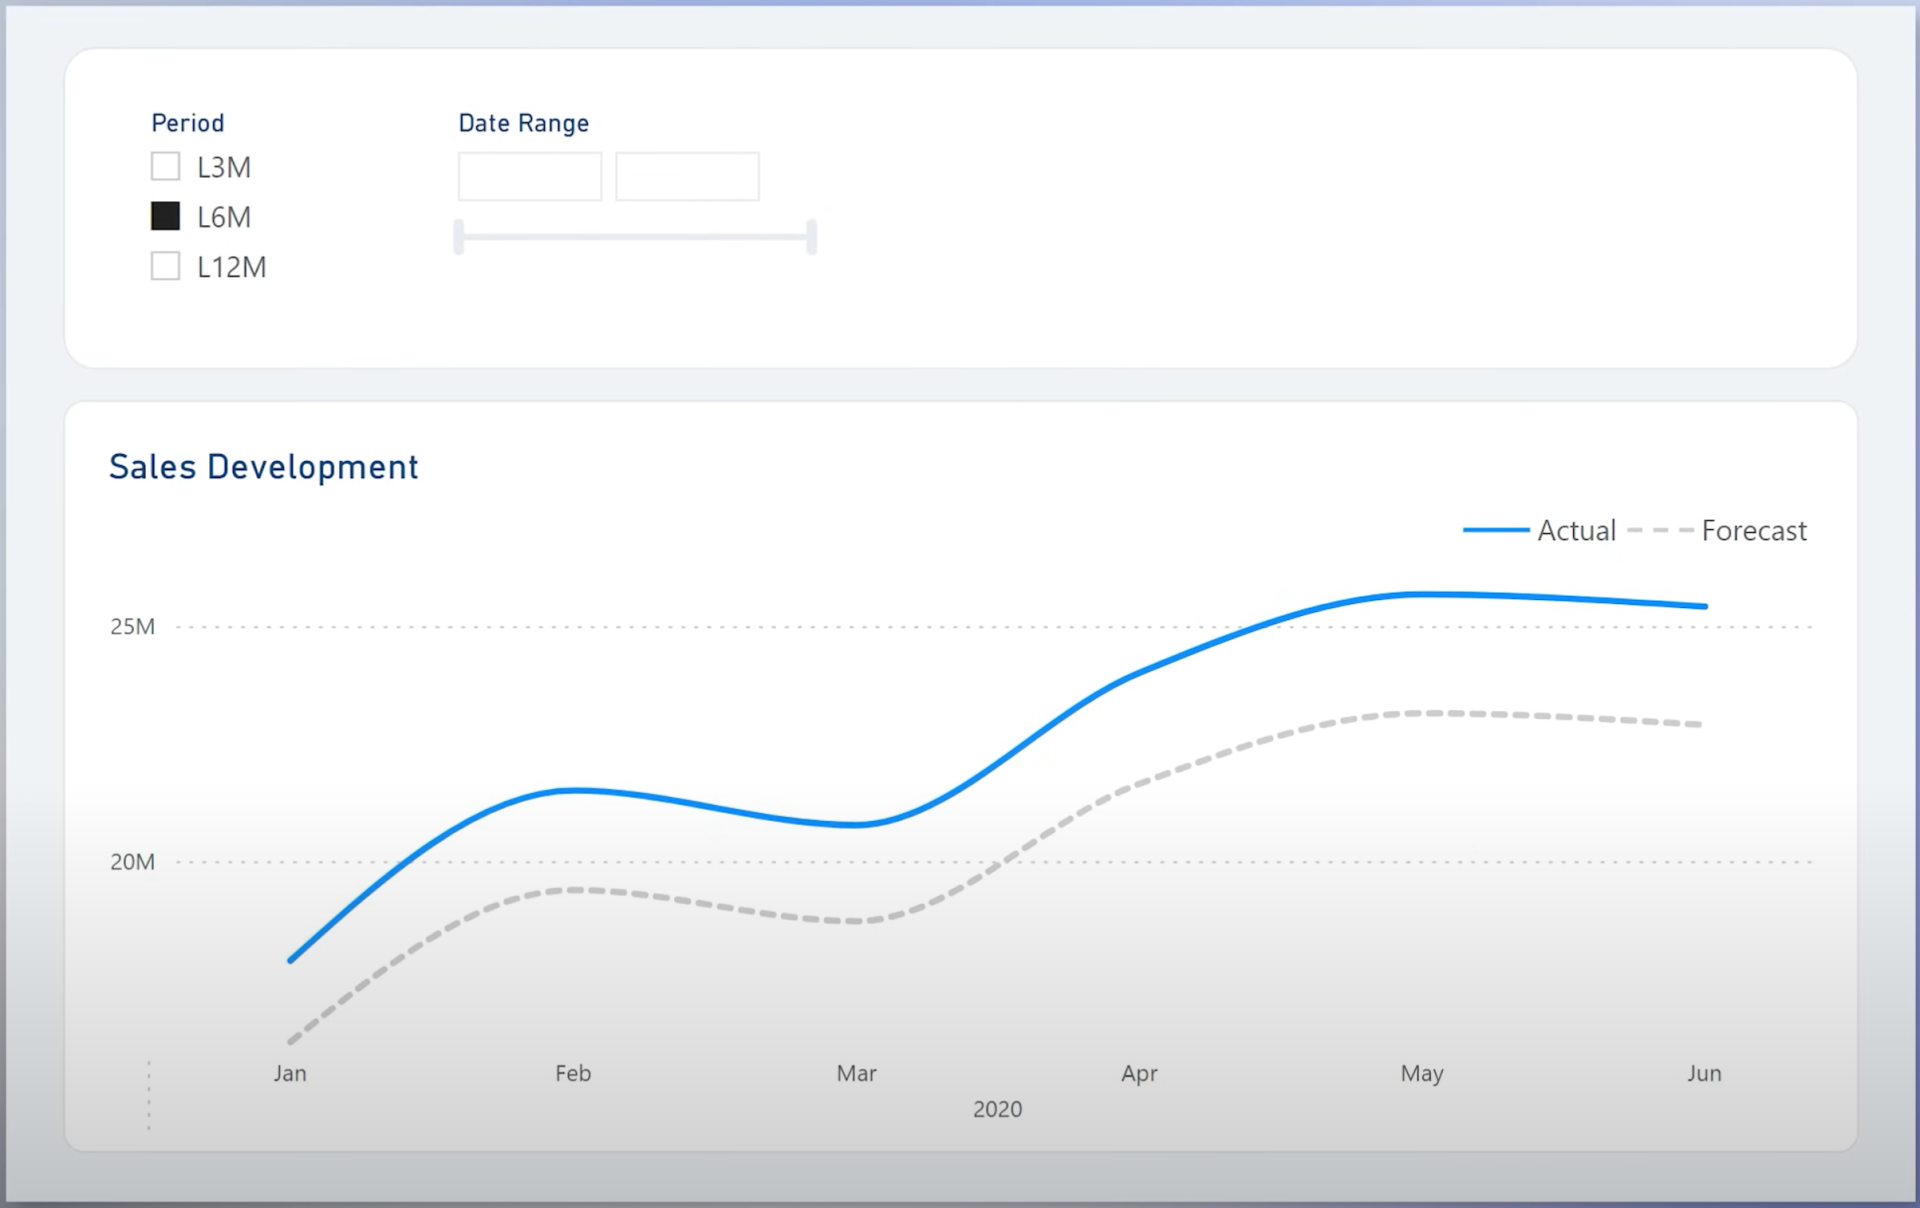
Step 3: Make the header text dynamic
Add a second measure:
CF Text Timeline =
IF(
[Timeline Slicer Disable] = 1,
"Deselect period first",
"Date Range"
)
Apply it as a dynamic title using conditional formatting.
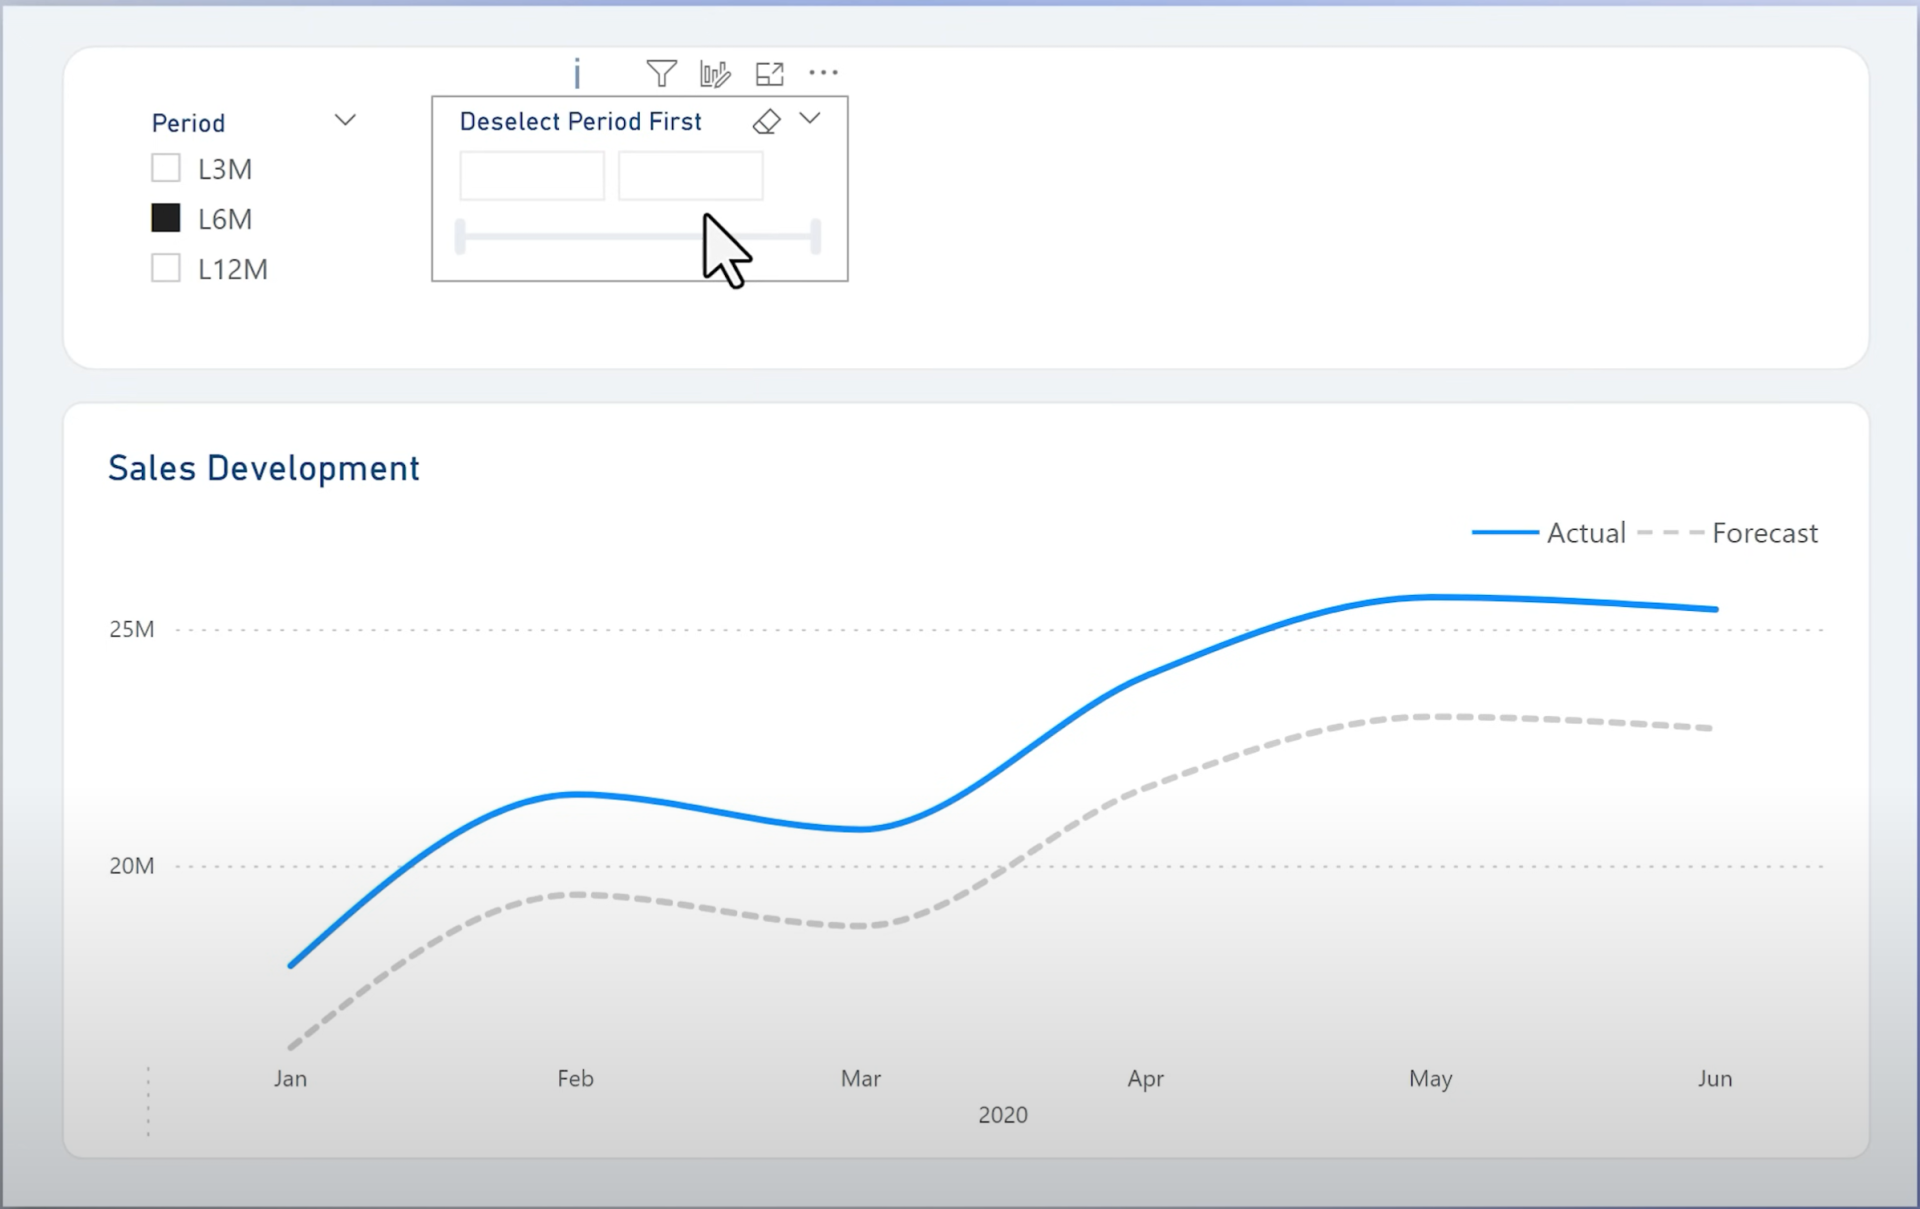
Step 4: Add Dynamic Color to the Header
Create a third measure for color:
CF Color Timeline =
IF(
[Timeline Slicer Disable] = 1,
"#B0B0B0", // light gray
"#094780" // dark blue
)
Use conditional formatting to apply it to the header font color.
Use Case 2: Disabling a Promotion Slicer Based on Store SelectionLet’s apply the same logic to two
text slicers:
- One for selecting a store
- One for selecting a promotion
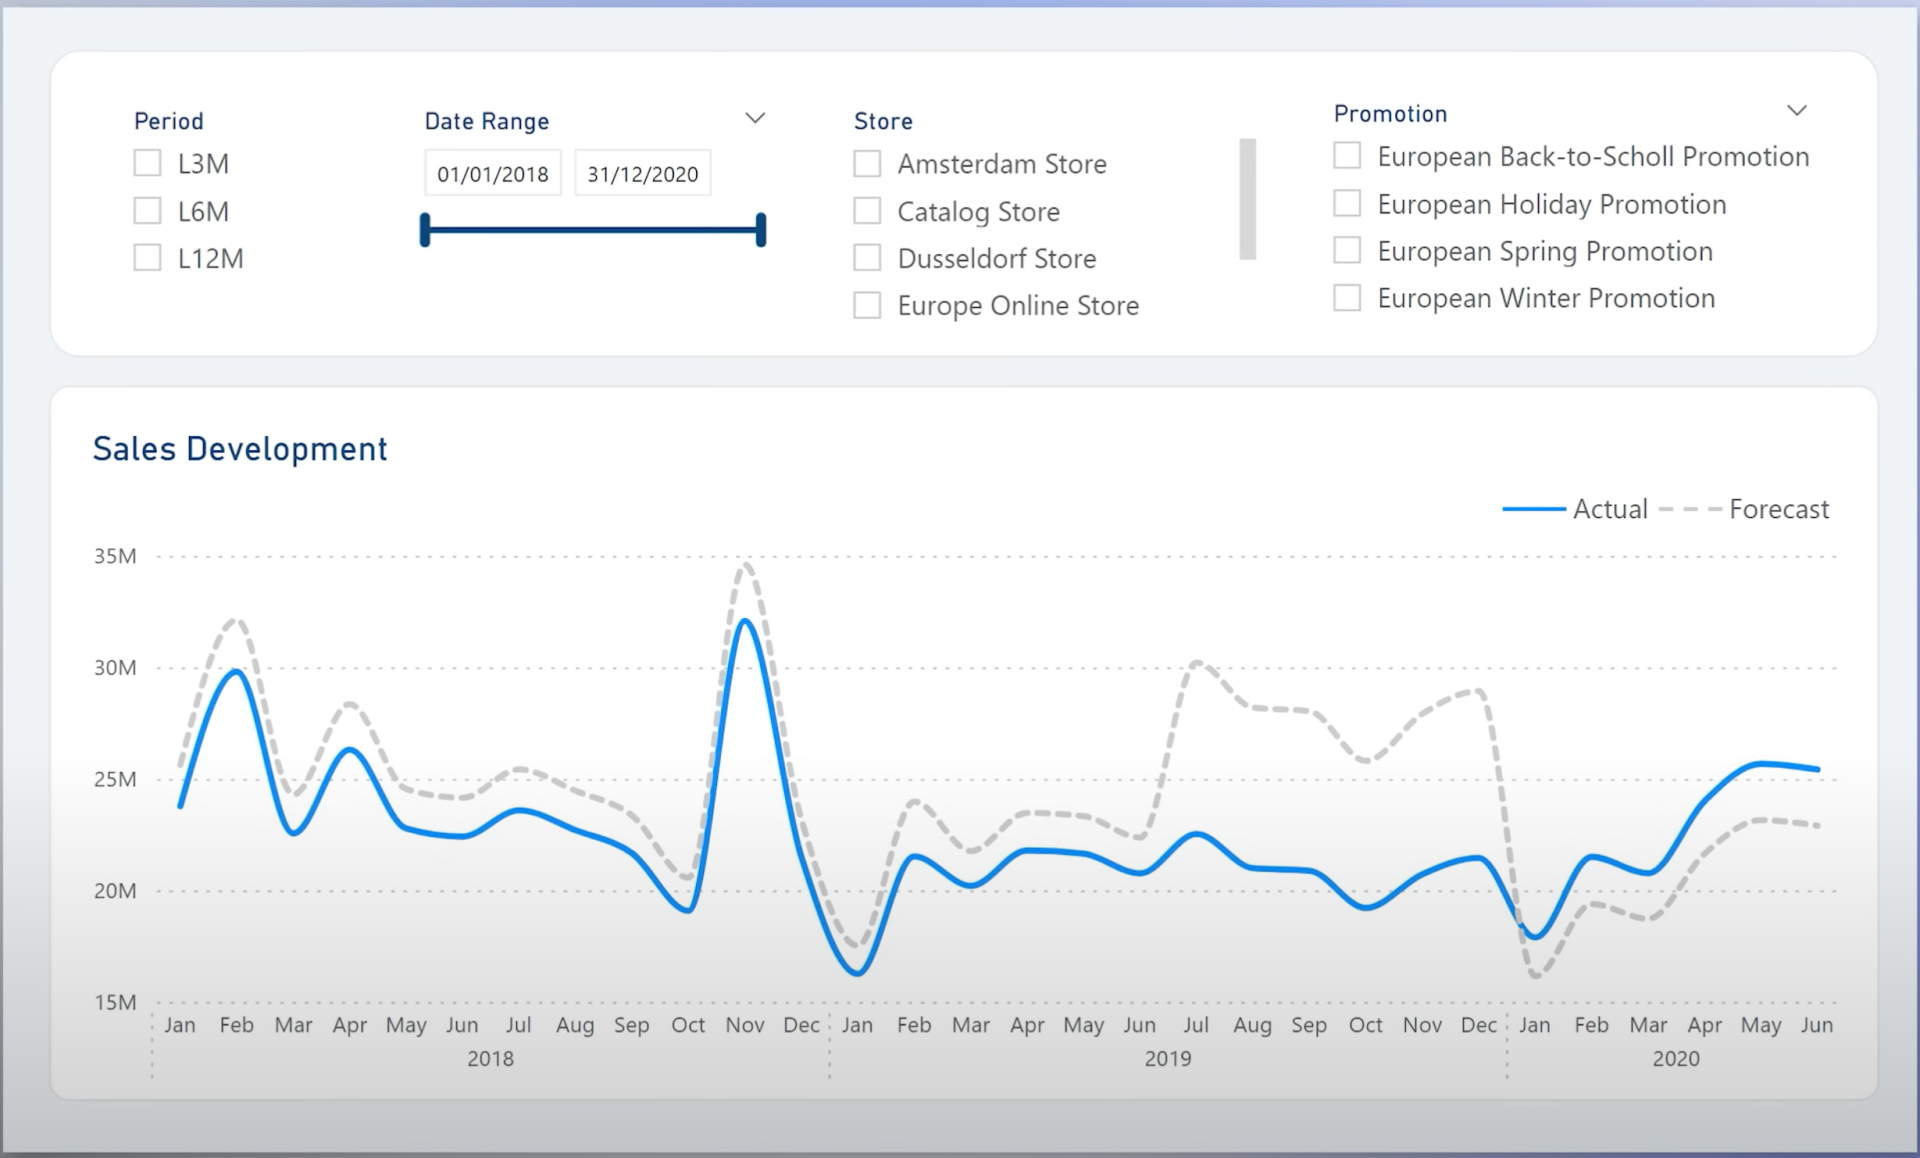
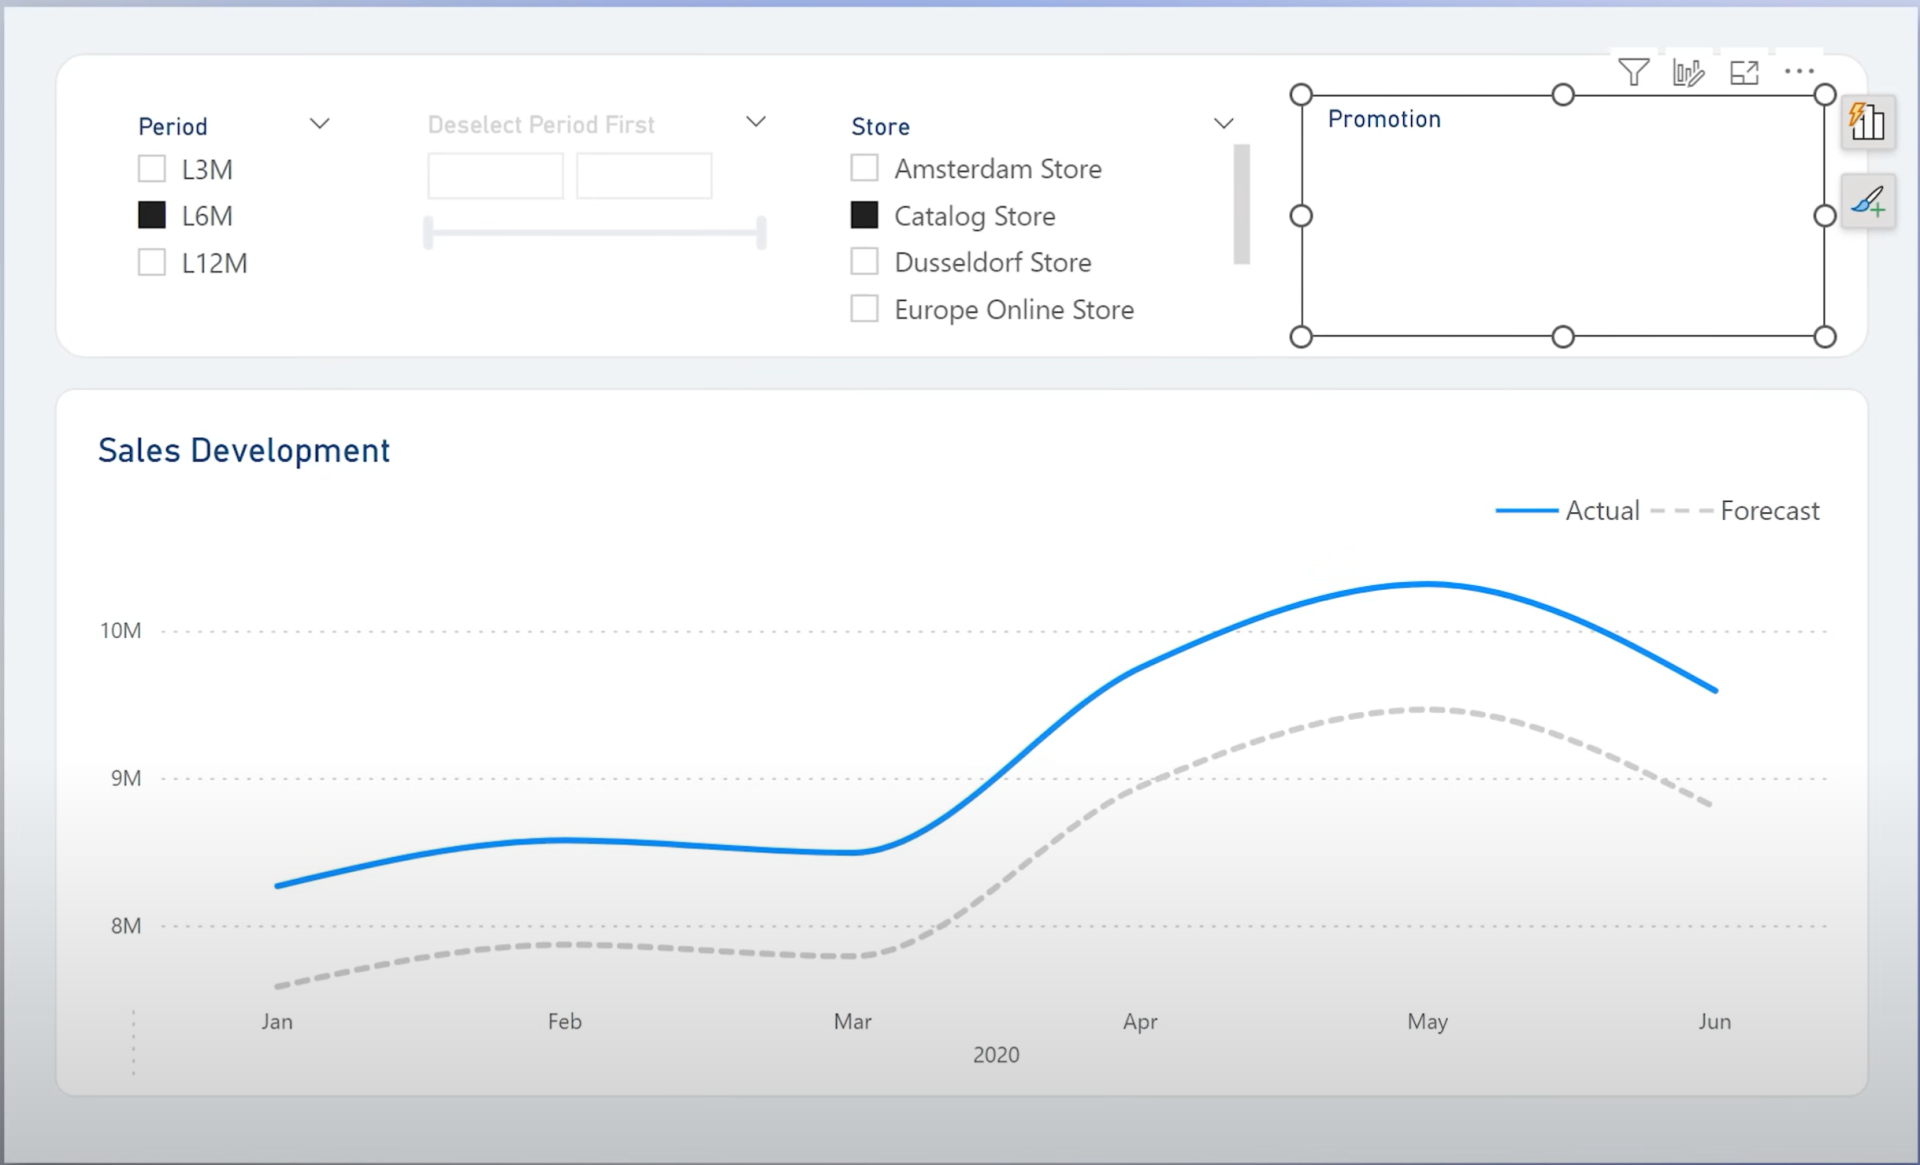
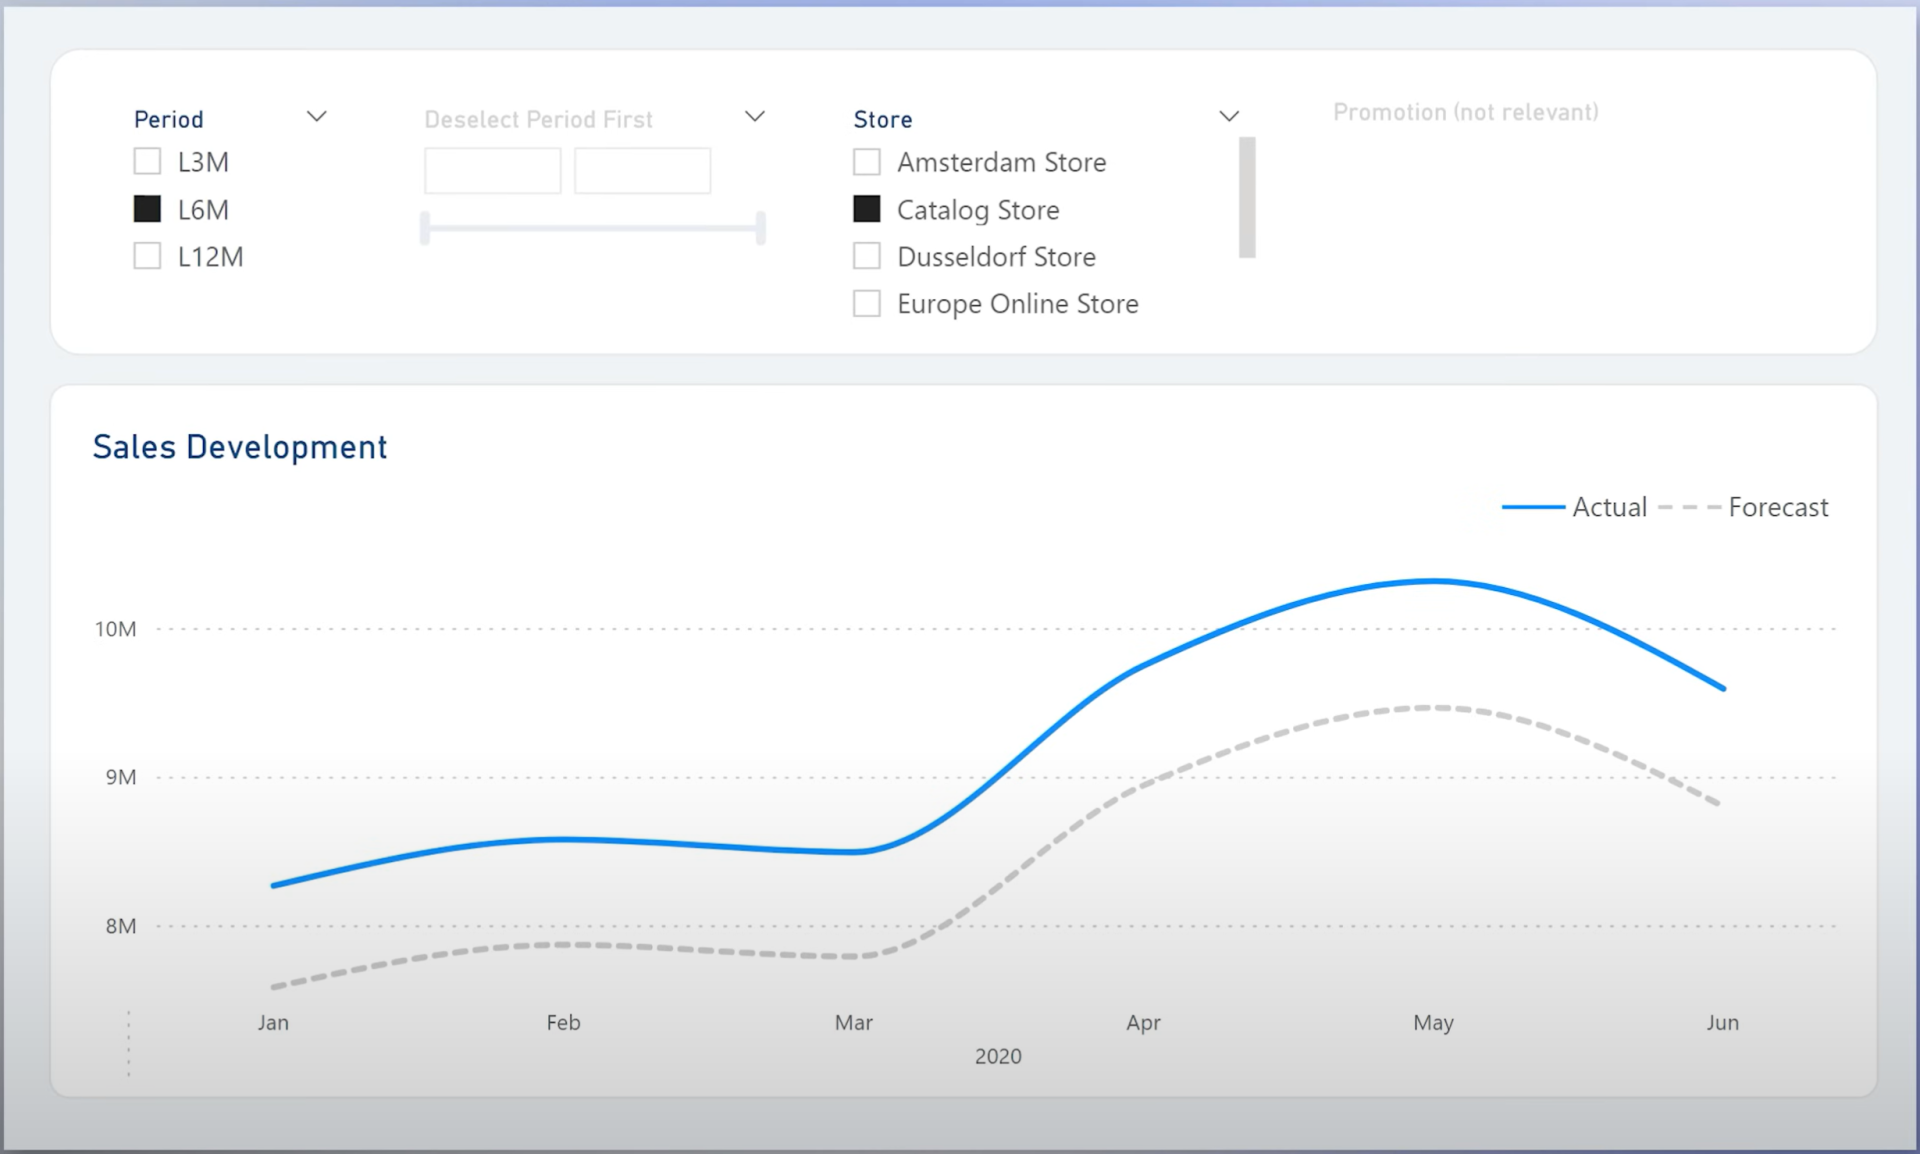
If a store like “Catalog Store” is selected (which doesn’t run promotions), the promotions slicer should be disabled.
Step 1: Create the Disable Measure
Promotion Slicer Disable =
IF(
SELECTEDVALUE('dimStore'[Store]) = "Catalog Store",
1,
0
)
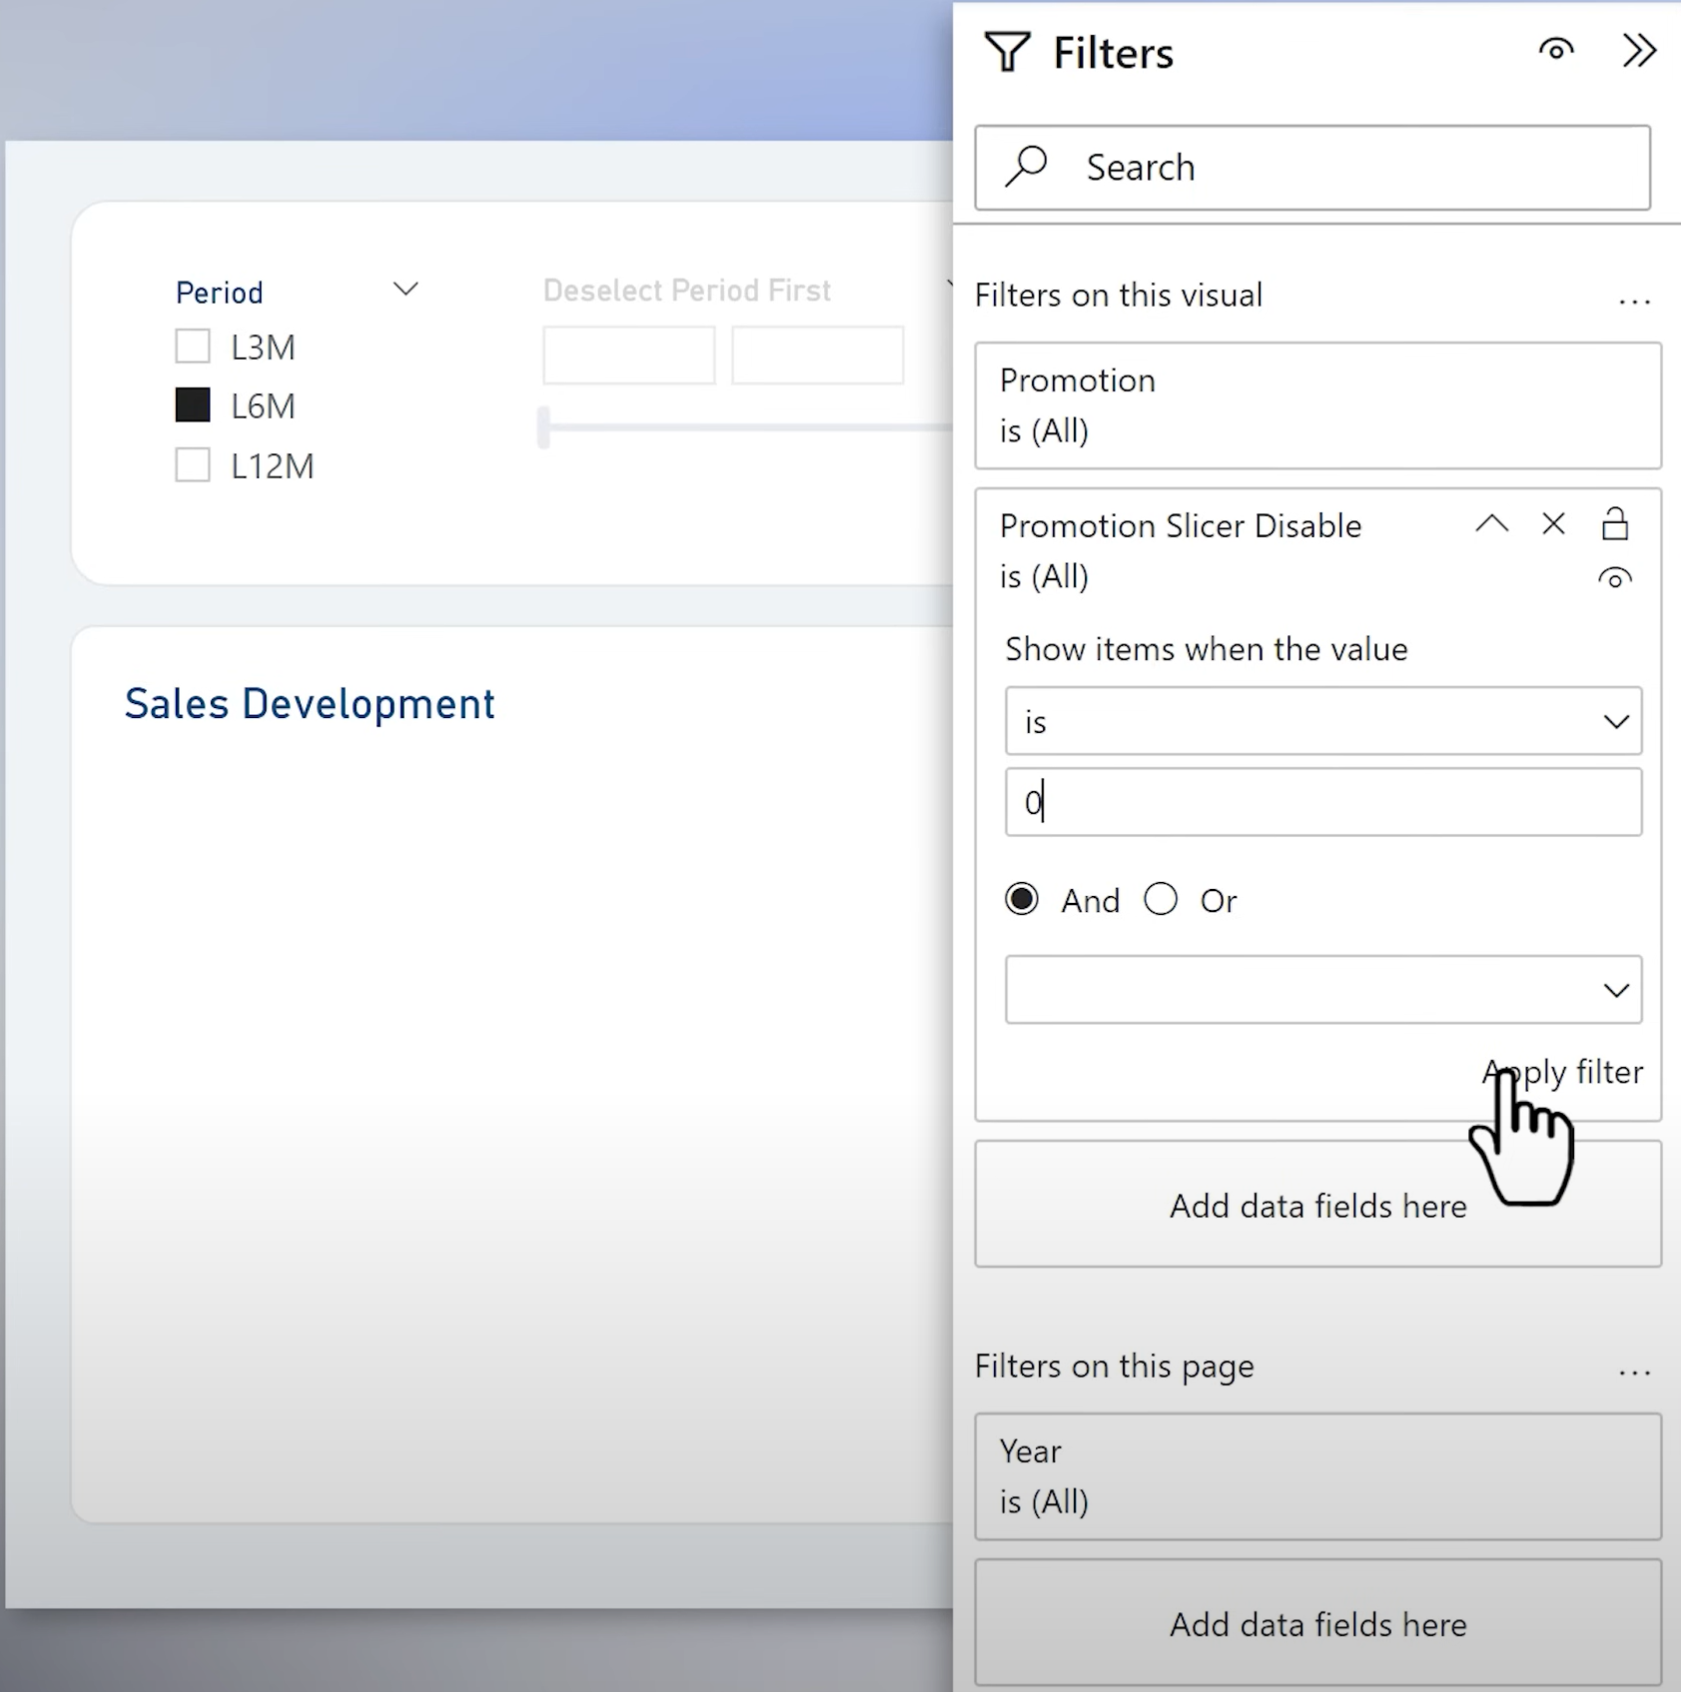
Step 2: Apply as Filter to the Promotion Slicer
1. Drag the measure into the slicer’s visual-level filters
2. Set condition: is equal to 0
Step 3: Dynamic Text and Color Formatting
Add a title text measure:
CF Text Promotion Slicer =
IF(
[Promotion Slicer Disable] = 1,
"Promotion (not relevant)",
"Promotion"
)
Add a color measure:
CF Color Promotion Slicer =
IF(
[Promotion Slicer Disable] = 1,
"#B0B0B0",
"#094780"
)
This creates a visually clear, intuitive interaction that disables irrelevant filters.
Final Thoughts
With just a few DAX measures and conditional formatting settings, you can dynamically control slicer behavior in Power BI, making your reports much more user-friendly.
This method works for:
- Date pickers and text slicers
- Scenarios with dependent filters
- Improving report clarity and usability
Hope you like it!
Give it a try and see how it works for you! I’d love to hear what you think or see how you use this trick in your own reports.

